


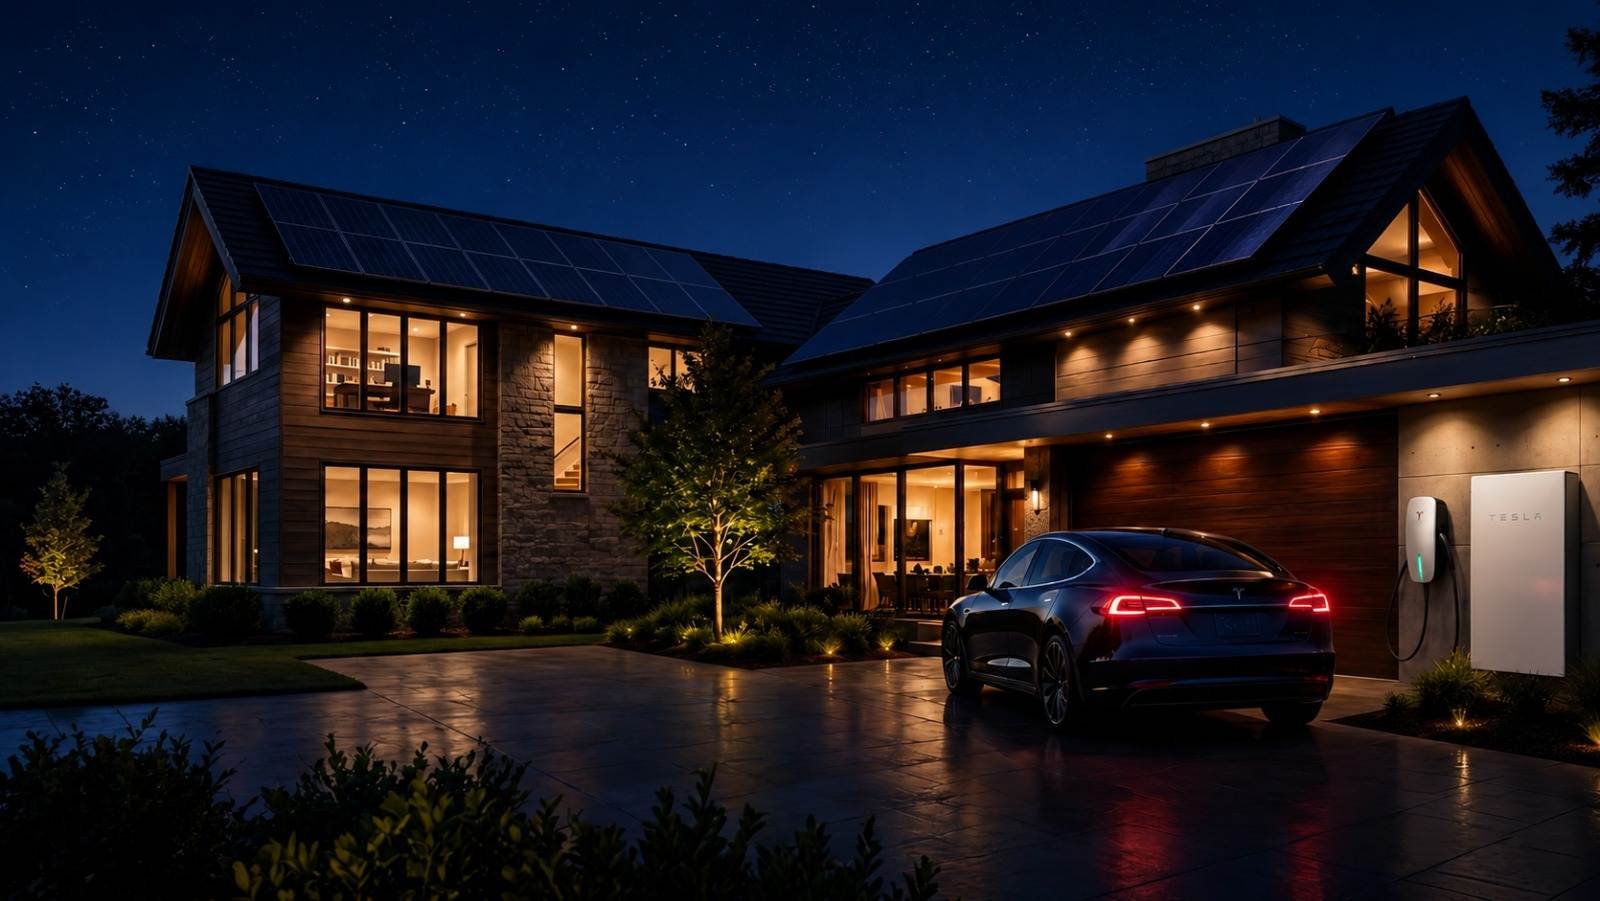
Home Electrification Guide: Getting EV, Solar & Battery Ready
Home electrification is the shift from fossil fuels to electricity for the things that power your daily life: your car, your heating and cooling, your water heater, and your stove. For many homeowners it also means adding solar panels and a home battery. Done in the right order, electrification is smooth and cost-effective. Done piecemeal, it can mean paying twice for the same wiring. This guide gives you a clear roadmap and the right sequence, so each step supports the next.
Step 1: Assess your electrical panel first
Everything starts at your panel, the metal box that distributes power through your home. Before adding any major load, you need to know two things: your service size (measured in amps) and how much spare capacity you have.
Many older homes have 100-amp service, which may already be close to full with modern appliances. EV chargers, heat pumps, and induction stoves each add significant demand. A 200-amp panel gives most homes comfortable room to grow. A licensed electrician performs a load calculation, a standardized method that adds up your existing and planned loads to tell you whether your current panel can handle what you want, or whether you need an upgrade.
Don't guess at this. The load calculation is the single most important step because it decides whether you can simply add a circuit or need to upgrade the whole panel first.
Step 2: Decide between load management and a service upgrade
If your panel is near capacity, you have two paths. Understanding both can save you money.
Which is right depends on your goals. If you only want an EV charger, load management may be enough. If you're planning an EV, a heat pump, and a battery over the next few years, upgrading the panel now usually costs less than doing it in stages.
- Service upgrade: Replacing your panel and service with a larger one, commonly 200 amps. This is the straightforward fix and the best choice if you plan multiple upgrades. A 200-amp panel upgrade typically runs $1,800 to $4,500 before your final quote.
- Load management: Smart devices that let two big appliances share one circuit safely by never running at full power at the same time. For example, a load-management device can pause EV charging when your dryer runs, then resume automatically. This can let you add an EV charger without a full panel upgrade, which sometimes saves money.
Step 3: Sequence your upgrades in the right order
The order matters because each step builds on the one before. A sensible sequence for most homes:
This sequence isn't rigid, but it keeps you from installing something that a later step forces you to redo.
- Panel (if needed): Get your electrical capacity right first. Adding a battery or EV charger to an overloaded panel just creates rework.
- EV charger: This is often the first high-value upgrade. A Level 2 charger installs faster and cheaper when the panel already has room. EV charger installation typically runs $400 to $1,800.
- Battery and/or solar: A home battery like the Tesla Powerwall 3 (around $9,200 plus install) gives you backup power and, paired with solar, lets you store your own energy. Batteries also involve utility interconnection, which takes more planning, so they usually come after the simpler upgrades.
Step 4: Future-proof your wiring and conduit
One of the smartest, cheapest moves you can make is to plan wiring for things you haven't bought yet. When an electrician has the walls open or is running a new circuit, adding extra conduit (the protective tubing that holds wires) costs relatively little. Pulling new wire later, after walls are closed, costs far more.
Ways to future-proof during any electrical project:
Thinking one step ahead now means your next upgrade is a quick add-on instead of a small construction project.
- Run conduit to your garage or driveway even if you don't have an EV yet.
- Size the panel with spare breaker slots for future circuits.
- Plan a spot and wiring path for a future battery near your panel.
- Consider where solar wiring would enter if you add panels later.
Step 5: Work with one electrician for the whole plan
Electrification touches many parts of your home's electrical system, and the pieces need to fit together. Using one licensed, insured electrician (or one company) for the whole roadmap has real advantages:
Even if you install in phases over a few years, having one plan and one trusted electrician keeps everything coordinated. Ask for a written roadmap that shows how each phase connects.
- A single load calculation covers all your planned upgrades, not just today's.
- Wiring, conduit, and panel space are planned together, avoiding rework.
- Permits and inspections are handled consistently.
- One point of accountability if something needs adjusting.
A quick word on incentives
The federal tax credits for home batteries and EV chargers have ended (the home battery credit on December 31, 2025, and the EV charger credit on June 30, 2026). However, many state and utility programs still offer rebates and special charging rates in 2026. These change often, so check your utility, your state energy office, and the free DSIRE database (dsireusa.org) for current offers, and consult a tax professional about your situation.
Getting started
The best first step is a professional load calculation and a plan. Charge Home Solutions is Tesla Energy Certified and SPAN Certified, and we install EV chargers, Powerwall batteries, and panel upgrades through a nationwide network of local, licensed, and insured electricians. We handle permits, inspections, and battery interconnection paperwork, and we can map out a phased electrification plan that future-proofs your wiring. For a free quote, call 888-995-6044.
Frequently asked questions
Start with your electrical panel if it needs more capacity, then add an EV charger, then a battery or solar. This sequence prevents rework, since adding equipment to an overloaded panel often forces you to redo the wiring later.
Not always. If your panel is near capacity, a load-management device can let an EV charger share a circuit safely with another appliance, sometimes avoiding a full upgrade. A licensed electrician's load calculation tells you which path fits your home.
It means installing extra conduit, spare breaker slots, and wiring paths now, while walls are open or a circuit is being run, so future upgrades are quick add-ons. Pulling new wire after walls are closed costs far more than planning ahead.
A single electrician can run one load calculation covering all planned upgrades, coordinate wiring and panel space, handle permits consistently, and give you one point of accountability, even if you install in phases over several years.
Related guides
Level 1 vs Level 2 EV Charging: Which Do You Need?
The real-world difference between Level 1 and Level 2 home charging speeds and costs.
Read article →The Best Home EV Chargers in 2026
Our pick of the best Level 2 home EV chargers compared on speed, features, and value.
Read article →EV Charger Installation Laws by State: What Homeowners Must Know
Permits, codes, right-to-charge laws, and HOA rules for installing a home EV charger, and how they vary by state.
Read article →NEMA 14-50 vs Hardwired EV Charger: Which Is Better?
Should you install a NEMA 14-50 outlet or hardwire your Level 2 EV charger? The real differences in charging speed, cost, safety, and code.
Read article →How Long Does EV Charger Installation Take?
Most home EV charger installs take 2 to 4 hours, but the full timeline from booking to a working charger depends on your panel and the permit. Here's what to expect.
Read article →Level 1 vs Level 2 EV Charging: Which Do You Actually Need?
Level 1 charging uses a standard 120-volt outlet and adds roughly 3 to 5 miles of range per hour. Level 2 uses a 240-volt circuit and adds about 20 to 40 miles per hour, many times faster. Most EV owners...
Read article →