


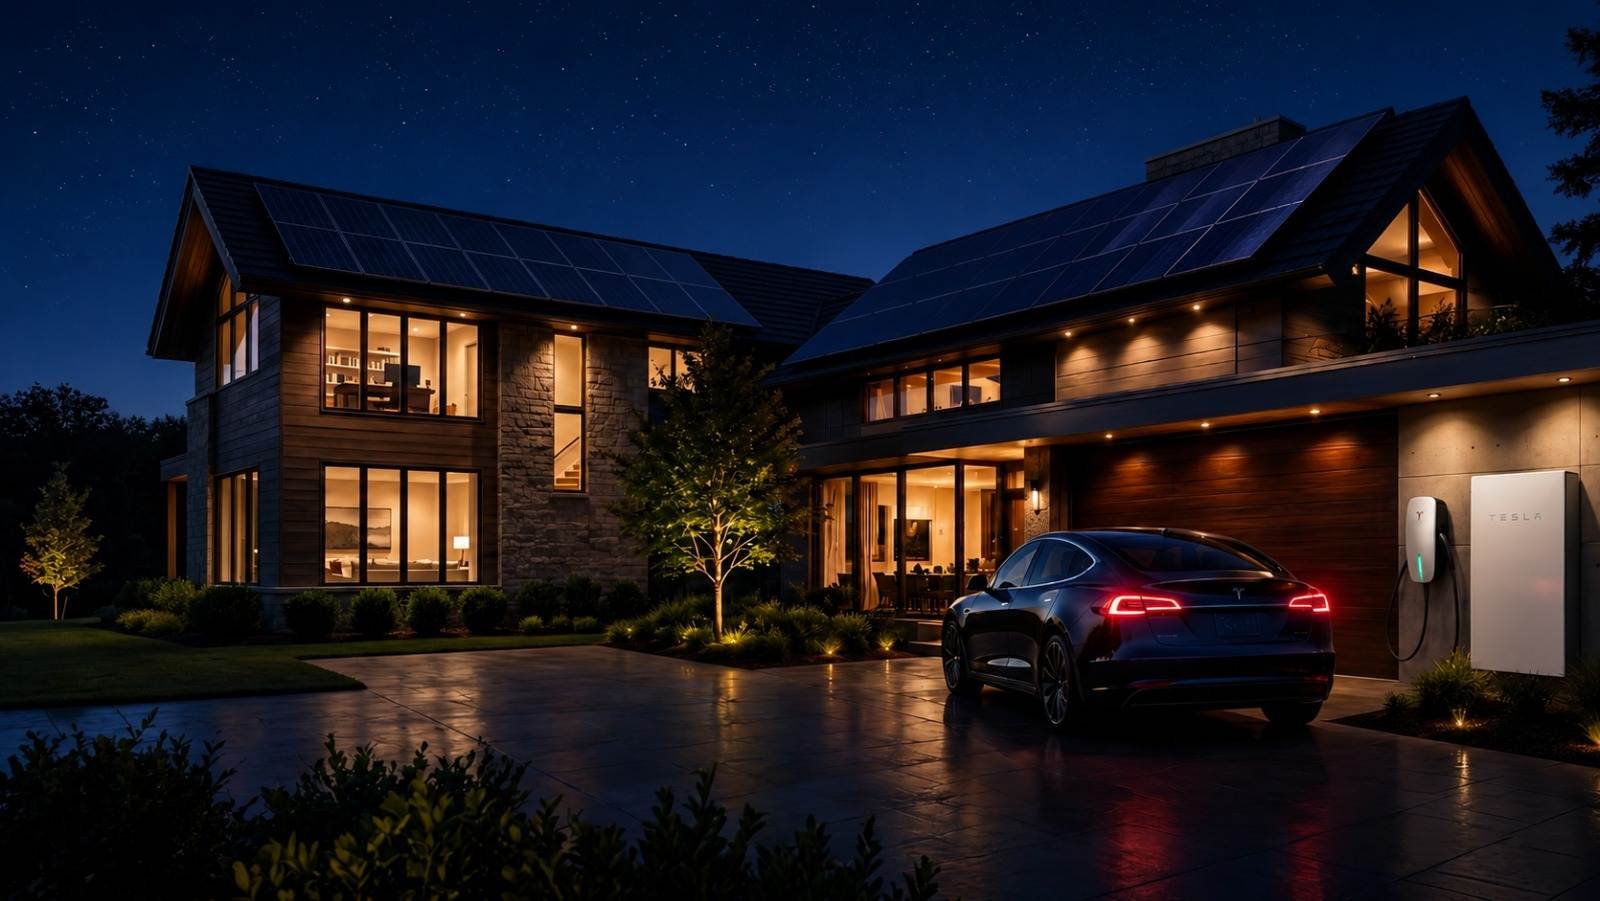
Tesla installation hub: manuals, videos & A-Z guides
What's in the hub
Everything our Tesla Energy Certified electricians use to install Tesla equipment, in one place: step-by-step A-Z install guides, the key electrical specs, links to Tesla's official manuals and videos, and how each product is commissioned in the Tesla One app, for the Wall Connector, Universal Wall Connector, Powerwall, Powershare, and commercial charging. Written for electricians, and for homeowners deciding to hire a certified pro.By Charge Home Solutions, Tesla Energy Certified installers in all 50 states. Updated 2026-10-14.
Full step-by-step install manuals
Deep, installer-grade manuals for each product: the complete A-Z process, specs, field mistakes, timeline, and links to Tesla's official manual and video. Written by Tesla Energy Certified installers.
Tesla Powerwall installation manual
A Tesla Powerwall is installed by a certified electrician in roughly these steps: run a service load calculation and design the backup, pull the electrical permit and file the utility interconnection application, mount the Powerwall and Backup Gateway within spec, wire the battery, gateway and current transformers, energize and commission the system in the Tesla One app, run a simulated-outage test, pass electrical inspection, and obtain Permission to Operate (PTO) from the utility. Powerwall 3 delivers 11.5 kW continuous and 13.5 kWh per unit with a built-in solar inverter; Powerwall 2 delivers 5 kW continuous and 13.5 kWh and is AC-coupled through Gateway 2.
Open the manual →Tesla Wall Connector installation manual
A Tesla Wall Connector (Gen 3) is hardwired to a dedicated circuit and delivers up to 48 amps / 11.5 kW on a 60-amp breaker. A licensed electrician runs the service load calculation, pulls the permit, installs the dedicated circuit (commonly 6 AWG copper for a 60-amp run), mounts and wires the unit, then commissions it over Wi-Fi in the Tesla One app and sets the output amperage to match the installed breaker. The Wall Connector is hardwired only, is rated for indoor or outdoor mounting, and supports power sharing so several units can share one circuit.
Open the manual →Tesla Universal Wall Connector installation manual
The Tesla Universal Wall Connector adds a built-in J1772 adapter so it charges both Tesla (NACS) and non-Tesla EVs from one unit. Electrically it installs exactly like the Gen 3 Wall Connector: hardwired, up to 48 amps / 11.5 kW on a 60-amp dedicated circuit, with the same service load calculation, permit, conductor sizing, and commissioning and output-amperage setting in the Tesla One app. The only real differences are the integrated adapter and latch, which are configured during commissioning.
Open the manual →Tesla Powershare installation manual
Tesla Powershare is bidirectional, vehicle-to-home (V2H) backup: a compatible Tesla, currently the Cybertruck, powers your home during an outage through the Powershare home backup hardware, a gateway, and a Wall Connector, all wired into your electrical panel. It must be installed and commissioned by a Tesla Powershare Certified electrician, not plugged in. It backs up the home only while the compatible Tesla is connected, so many homeowners pair it with a Powerwall for always-on backup.
Open the manual →Commercial Tesla Wall Connector installation manual
A commercial Tesla Wall Connector install puts multiple units on power sharing, so they share one circuit and divide the available current across the vehicles charging at the time. The design hinges on the site's service capacity, single- vs three-phase power, and how many chargers run at once, so it starts with an electrical load study and an on-site assessment, then permit, trenching and conduit, installation, networking and access control, and commissioning each unit in the Tesla One app.
Open the manual →Tesla One app commissioning installation manual
Tesla One is Tesla's app for certified installers, and it is how an electrician commissions Tesla hardware. The installer signs in as certified, connects to the Wall Connector (over Wi-Fi) or the Powerwall / Backup Gateway, runs the guided setup, applies firmware, sets the charger's output amperage or the energy system's backup configuration, runs the built-in tests (including an outage test for energy systems), and registers the install so the equipment and warranty are on record with Tesla. Commissioning in Tesla One is a required step, not optional.
Open the manual →EV charging
Tesla Wall Connector installation (A-Z)
Quick answer
The Tesla Wall Connector (Gen 3) is hardwired to a dedicated circuit and delivers up to 48 amps / 11.5 kW on a 60-amp breaker. A licensed electrician runs the load calculation, pulls the permit, installs the dedicated circuit and the unit, then commissions it over Wi-Fi in the Tesla One app and sets the output to match the breaker.
Key specs & requirements
- Up to 48 A output / 11.5 kW on a 60 A dedicated breaker (continuous load is capped at 80% of the breaker)
- Hardwired only (no plug); NEMA 4 rated for indoor or outdoor mounting
- Wire sized to the circuit and run length (commonly 6 AWG copper for a 60 A circuit; longer runs may need an upsize)
- Requires a service/load calculation to confirm the panel can carry the new circuit, and a permit + inspection
- Commissioned and firmware-updated in the Tesla One app; output amperage must be set to the installed breaker
Installation, step by step
- 1. Load calculation & circuit design. Confirm the panel's available capacity, choose the breaker size (up to 60 A for 48 A charging), and size the conductors to the run length.
- 2. Permit. Pull the electrical permit before any work. Most jurisdictions require it for a new dedicated EV circuit.
- 3. Mount & wire. Mount the unit at the correct height, run the dedicated circuit, and land the conductors and ground per the unit's terminal layout.
- 4. Energize & commission. Power up, connect in the Tesla One app over Wi-Fi, run the setup, and SET THE OUTPUT AMPERAGE to the installed breaker (this is the step DIY installs get wrong).
- 5. Inspection & handoff. Pass the electrical inspection, test a charge session, and show the homeowner the app and safe operation.
EV charging
Tesla Universal Wall Connector installation (A-Z)
Quick answer
The Universal Wall Connector adds a built-in J1772 adapter so it charges both Tesla (NACS) and non-Tesla EVs. Electrically it installs exactly like the Gen 3 Wall Connector: hardwired, up to 48 A / 11.5 kW on a 60 A dedicated circuit, with the same load calc, permit, and Tesla One commissioning.
Key specs & requirements
- Charges Tesla (NACS) and J1772 EVs from one unit (built-in adapter)
- Up to 48 A / 11.5 kW on a 60 A dedicated circuit, hardwired
- Same wiring, load-calc, permit and inspection requirements as the Gen 3 Wall Connector
- Commissioned in the Tesla One app; output set to the breaker
Installation, step by step
- 1. Confirm the circuit. Same dedicated 60 A design and load calculation as the standard Wall Connector.
- 2. Permit, mount, wire. Permit first; mount, run the dedicated circuit, land conductors and ground.
- 3. Commission in Tesla One. Set output amperage to the breaker and update firmware so the built-in adapter and access controls work correctly.
Home energy
Tesla Powerwall installation (A-Z): Powerwall 3 & Powerwall 2
Quick answer
A Tesla Powerwall is a hardwired home battery that must be installed by a certified electrician with a permit and a utility interconnection agreement. Powerwall 3 has a built-in inverter (11.5 kW continuous, 13.5 kWh, up to 4 units) and ties in through a Backup Gateway; Powerwall 2 (5 kW continuous, 13.5 kWh) uses Gateway 2. The installer runs the load calc, mounts and wires the units and gateway, then commissions and tests backup in the Tesla One app.
Key specs & requirements
- Powerwall 3: integrated inverter, 11.5 kW continuous, 13.5 kWh usable, up to 4 units per system
- Powerwall 2: 5 kW continuous (7 kW peak), 13.5 kWh usable, AC-coupled via Gateway 2
- Requires a Backup Gateway for whole-home/partial backup, metering and islanding during an outage
- Needs a load calculation, permit, and a utility interconnection / net-metering agreement before energizing
- Mounting clearances and ambient temperature limits apply; commissioned and tested in the Tesla One app
Installation, step by step
- 1. Design & load calc. Size the system to backup goals, confirm panel capacity, and decide whole-home vs. partial (protected-loads) backup.
- 2. Permit & utility application. Pull the electrical permit and submit the utility interconnection/net-metering application before install.
- 3. Mount & wire the Powerwall + Gateway. Mount within the temperature/clearance limits, wire the units and Backup Gateway, and integrate the CTs and metering.
- 4. Commission & test backup. Commission in the Tesla One app, update firmware, then simulate a grid outage to verify the system islands and powers the backed-up loads.
- 5. Inspection & PTO. Pass inspection and obtain Permission To Operate (PTO) from the utility before the system runs on grid.
Commercial
Commercial Tesla Wall Connector installation (A-Z): workplace & fleet
Quick answer
For workplaces, fleets, retail and multi-unit sites, Tesla Wall Connectors install with power sharing so multiple units share one circuit and balance the available current across active vehicles. The design hinges on the site's service capacity, single- vs. three-phase power, and how many chargers run at once, so it starts with an electrical load study and a free on-site assessment.
Key specs & requirements
- Power sharing lets multiple Wall Connectors share a circuit and divide available current across charging vehicles
- Single-phase or three-phase supply depending on the site; three-phase is common for larger commercial services
- Design driven by the building's service size, simultaneous-use needs, trenching/conduit runs, and future expansion
- Requires a commercial load study, permit, and often coordination with the utility for added service capacity
Installation, step by step
- 1. On-site load study. Assess the service capacity and how many chargers can run at once; decide single- vs. three-phase and the power-sharing group.
- 2. Design & permit. Lay out the units, conduit/trenching and panel, size the shared circuit, and pull the commercial permit.
- 3. Install & network. Install the units, configure power sharing and any access/billing networking, and commission each unit in the Tesla One app.
- 4. Commission & verify. Verify load balancing across units under simultaneous charging and hand off the site controls.
For electricians
Commissioning & the Tesla One app (for electricians)
Quick answer
Tesla One is Tesla's app for certified installers. It is how an electrician commissions Tesla hardware: connecting to the Wall Connector, Powerwall or gateway, running the guided setup and tests, applying firmware, setting the charge output or backup configuration, and registering the install so the equipment and warranty are recorded with Tesla. Commissioning in Tesla One is a required step, not optional.
Key specs & requirements
- Used by Tesla Energy Certified / Wall Connector-certified installers to commission and register installs
- Connects to Wall Connectors (over Wi-Fi) and to Powerwall / Backup Gateway systems
- Runs guided setup, applies firmware, sets output amperage (chargers) and backup configuration (energy), and tests the system
- Registers the install with Tesla so the equipment and warranty are on record
Installation, step by step
- 1. Sign in as a certified installer. Commissioning requires certification; the app ties the install to the certified electrician and company.
- 2. Connect to the hardware. Join the unit's setup network (chargers) or connect to the gateway (energy) to begin commissioning.
- 3. Run setup, firmware & settings. Follow the guided steps, update firmware, and set the output amperage or backup configuration to match what was installed.
- 4. Test & register. Run the built-in tests (and an outage test for energy systems), then register the install so warranty and records are complete.
Why a certified electrician, not DIY
Every product in this hub is licensed electrical work. A Wall Connector needs a new dedicated circuit sized to a load calculation; a Powerwall ties into your panel and the utility grid and needs an interconnection agreement and Permission To Operate; Powershare and commercial sites add gateways, power sharing and three-phase design. All of it must be permitted, inspected, and commissioned and registered in the Tesla One app so the warranty stands.
Done wrong, it fails inspection, voids the warranty, or creates a real fire and shock hazard. That is why Tesla certifies installers, and why Charge Home Solutions uses only licensed, insured, Tesla Energy Certified electricians, in all 50 states. Our in-home estimate is free and carries no obligation.
Frequently asked questions
It is our single reference for installing Tesla equipment: step-by-step A-Z guides, the key electrical specs, links to Tesla's official manuals and videos, and how to commission each product in the Tesla One app, for the Wall Connector, Universal Wall Connector, Powerwall, Powershare, and commercial charging. It is written by Tesla Energy Certified installers and is useful both to electricians and to homeowners deciding to hire a pro.
No. A Wall Connector is hardwired to a new dedicated circuit, and a Powerwall ties into your panel and the utility grid. Both require a service load calculation, a permit, an inspection, and (for Powerwall) a utility interconnection agreement, plus commissioning in the Tesla One app. This is licensed electrical work with real safety, code and warranty consequences, so it must be done by a certified electrician. Charge Home Solutions does it in all 50 states with a free in-home estimate.
Tesla One is Tesla's app for certified installers. Electricians use it to connect to the hardware, run the guided commissioning, apply firmware, set the charger's output amperage or the backup configuration, test the system, and register the install so the equipment and warranty are recorded with Tesla. Commissioning in Tesla One is a required step.
Up to 48 amps of continuous output, about 11.5 kW. Continuous electrical loads are limited to 80% of the breaker, so a 60-amp breaker supports 48 amps. The installer must set the unit's output amperage in the Tesla One app to match the breaker that was actually installed.
A load calculation and system design, an electrical permit, correct mounting and wiring of the Powerwall and Backup Gateway, commissioning and an outage test in the Tesla One app, a passed inspection, and Permission To Operate (PTO) from the utility under an interconnection/net-metering agreement. We handle all of it.
Yes. Charge Home Solutions is a Tesla Energy Certified Installer with licensed, insured electricians in all 50 states, and we commission and register every install. You can verify certification on Tesla's official Certified Installer directory.
Installing Tesla equipment? Get it done by a certified pro.
Free in-home estimate, licensed and insured electricians, Tesla Energy Certified, all 50 states.