


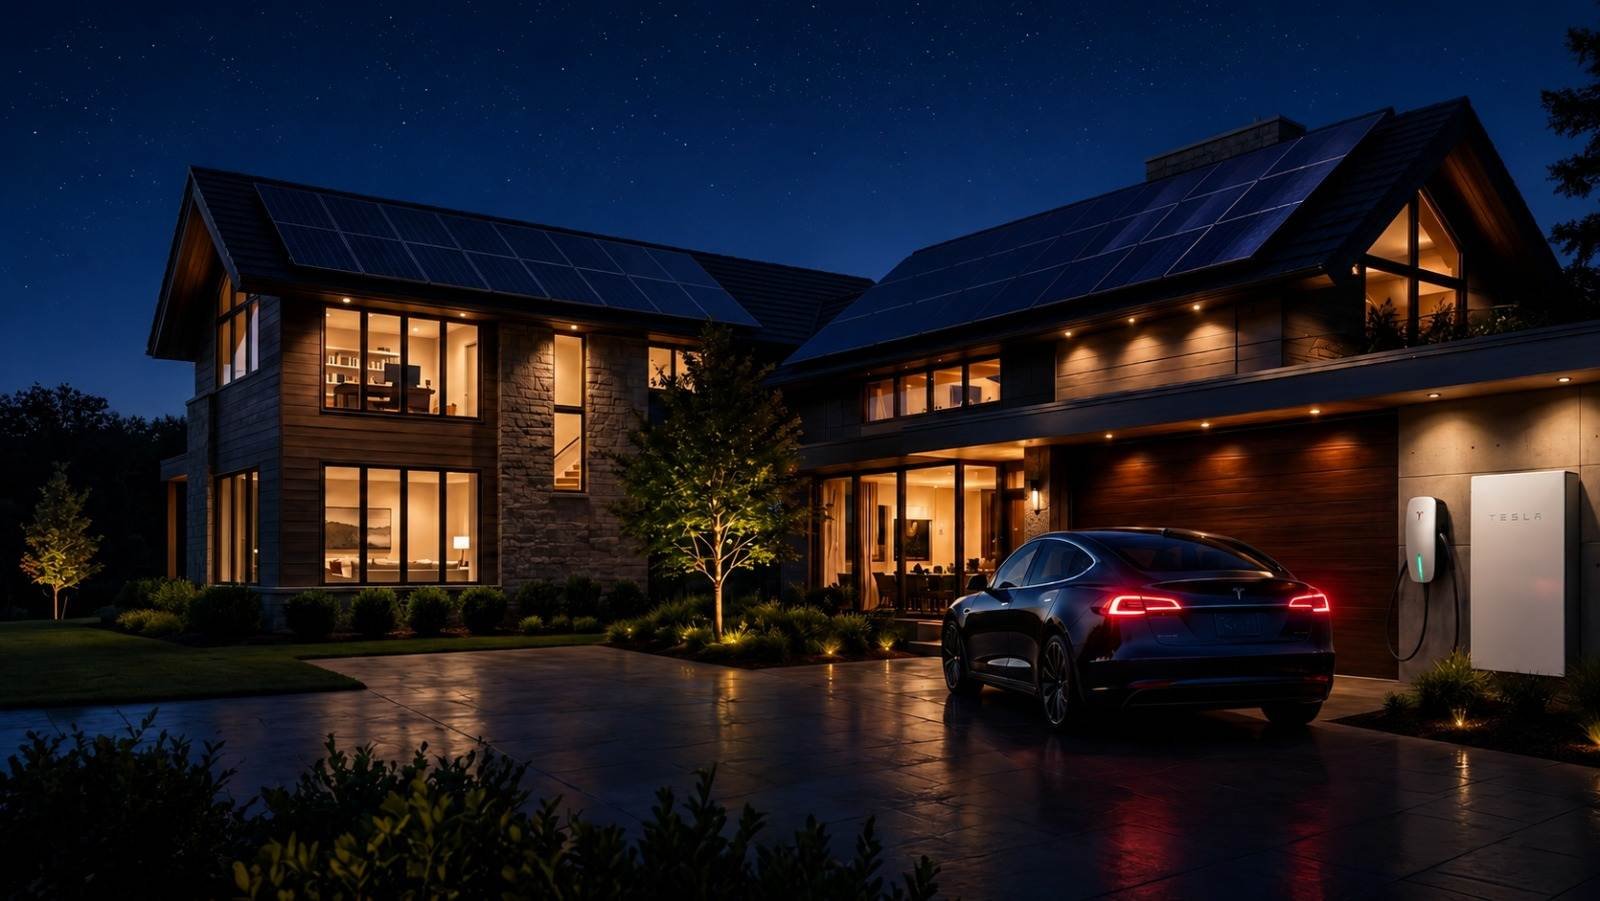
Tesla Universal Wall Connector Installation Guide: Requirements, Steps, Permits and Commissioning
What the Universal Wall Connector needs: the requirements checklist
Here is what we confirm before any Universal Wall Connector goes on a wall.
If any item above is unclear for your home, that is exactly what the free in-home estimate settles.
- Circuit: a dedicated 240V, single-phase, double-pole circuit. Nothing else shares it.
- Breaker size: 60A for the maximum 48A output. The unit can be set to a lower current for smaller breakers, so a 50A breaker pairs with a 40A setting and so on, always matching output to the breaker.
- Continuous-load rule: EV charging is a continuous load, so the circuit must be rated at 125% of the charging current. That is the math behind 48A on a 60A breaker.
- Conductors: copper is typical, and 6 AWG copper is the common size for a 60A circuit. Your electrician selects the exact wire type, insulation rating and size from code tables, accounting for run length and voltage drop.
- Grounding: a proper equipment grounding conductor is part of the circuit, and the connector's internal ground-fault protection does not replace it.
- Wi-Fi: the unit is commissioned and updated over your home network, so a usable signal near the install location helps.
- Location: a wall or post with room for the cable to reach your charge port without strain, and enough clearance to hang the handle safely.
Electrical load calculation and panel capacity
Before a breaker is chosen, a licensed electrician performs a load calculation. This adds up your home's existing demand (HVAC, range, dryer, water heater, and so on) and checks whether the service can absorb another 48A continuous load.
There are three common outcomes:
1. Enough capacity: the circuit goes in as planned. 2. Tight capacity: the connector is set to a lower current, or load management is added, so the charger works within what the panel can support. 3. Insufficient capacity: a panel or service upgrade is recommended before charging at higher power.
This step is the biggest reason DIY installs go wrong. A circuit that looks fine at the breaker can still overload a main service, and the consequences are heat and nuisance trips at best. A certified electrician documents the calculation, and many permit offices want to see it.
The installation, step by step
This is the process our crews follow. It is a description of the work, not instructions for homeowners to perform.
The electrician inspects the panel, open breaker spaces, the path from panel to charger, and the mounting surface. Run length drives wire size and material cost.
Most jurisdictions require an electrical permit for a new 240V circuit. We handle the application. See the permit section below.
The panel is de-energized at the main by the electrician. A 60A double-pole breaker is installed and torqued to the manufacturer's specification.
Conductors are run in conduit or cable assemblies suited to the location: for example, EMT or PVC conduit on a garage wall or exterior run, with weather-rated fittings outdoors. Conduit type depends on the environment and local code.
The bracket is anchored into framing or masonry with fasteners suited to the surface. Mounting height is set so the cable reaches the vehicle comfortably and the connector sits above code minimums. The National Electrical Code sets minimum heights for the charging connector, and local amendments vary, so your electrician confirms what applies in your area. Leave clearance on the sides and below so the handle can be hung and the cable coiled without being pinched or dragged across a walkway.
The conductors are landed on the terminals at the correct torque, the equipment ground is connected, and the current setting is matched to the breaker. Loose terminations are a leading cause of heat damage in EV circuits, so torque matters.
The breaker is turned on, the unit powers up, and the electrician verifies voltage and a clean start before moving to commissioning.
For the full step-by-step process for this exact product, see our Universal Wall Connector manual at chargehomesolutions.com/tesla-universal-wall-connector-installation-manual/.
Hardwired or plug-in: which setup fits
The Universal Wall Connector can be hardwired, which supports the highest output. A plug-in arrangement using a NEMA 14-50 receptacle is also possible. Because a plug-in setup sits on a 50A circuit, it is limited to a lower charging current than a hardwired 60A circuit, and the receptacle itself must be a quality, properly rated outlet.
Most homeowners who want faster overnight charging choose hardwired. Plug-in can make sense for renters or anyone who may move the unit later. Your electrician will recommend one based on your panel and driving habits.
Commissioning with the Tesla app
Once the hardware is powered, commissioning ties the charger to your network and your account:
1. Open the Tesla app and choose the option to add or set up the Wall Connector. 2. Connect your phone to the Wall Connector's temporary Wi-Fi network, using the details provided with the unit. 3. Select your home Wi-Fi network and enter the password so the charger can receive firmware updates. 4. Confirm the current setting and let the unit finish any software update. 5. Plug in to a vehicle and verify a charging session starts.
If you have more than one Wall Connector, or a Powerwall, the app is also where power sharing and load management are configured. Our installers complete and test commissioning before leaving, so you never have to troubleshoot it alone.
Permits and inspection
A permit is generally required for a new EV charging circuit. The permit process exists to put a second set of qualified eyes on the work. Typical steps are:
Unpermitted work can cause problems with insurance claims, home sales, and manufacturer warranty questions. Requirements differ by city and utility, and some utilities want to be notified or offer their own programs. Your electrician confirms what applies to you.
- Permit application, often including the load calculation and a simple one-line description of the circuit.
- Rough or final inspection, where an inspector checks breaker size, wire size, grounding, conduit, connections, and mounting.
- Sign-off, which documents that the work meets code.
Why a licensed, Tesla-certified electrician matters
Charge Home Solutions works through a nationwide Tesla-certified network of licensed and insured electricians, with fast matching to your area.
- Code compliance: conductor sizing, continuous-load derating, GFCI and grounding rules are interpreted correctly.
- Panel safety: a load calculation prevents overloaded services.
- Permit and inspection: handled for you, with clean documentation.
- Warranty: professional installation by a qualified electrician protects your equipment coverage and your homeowner's insurance position.
- Fewer return visits: the right breaker, wire and settings the first time.
What drives the cost of installation
We do not quote a flat number because homes differ. The main cost factors are:
A free in-home estimate gives you a written, specific scope instead of a guess. Also check with your local utility or state for any current rebates or time-of-use rates, since those vary by location.
- Distance from the panel to the charger location
- Whether the panel has open breaker spaces and enough capacity, or needs an upgrade
- Indoor versus outdoor routing, and conduit type
- Wall material (wood framing, drywall, brick, concrete)
- Permit and inspection fees in your jurisdiction
- Whether you need one unit or several, or want Powerwall integration
Book your free in-home estimate
Ready to move forward? Charge Home Solutions matches you with a licensed, insured, Tesla-certified electrician in your area, with a free in-home estimate and no obligation.
Request your free estimate at chargehomesolutions.com/request-service or call 888-995-6044.
Frequently asked questions
Related guides
Commercial Tesla EV Charger Installation in Las Vegas, NV: A Business Owner's Guide
Commercial Tesla EV charger installation in Las Vegas starts with a site assessment: how many vehicles you need to charge, how much spare capacity your electrical service has, and which local building
Read article →EV Charger Outlet Not Working? A Step-by-Step Troubleshooting Guide
If your EV charger outlet is not working, the cause is usually one of a few things: a tripped breaker or GFCI, a charger or cable fault, a loose or worn receptacle, or a circuit that is undersized for
Read article →How to Plan Electrical Work for a Home Addition With an EV Charger
The best way to plan electrical work for a home addition with an EV charger is to decide on the charger early, have a licensed electrician run a load calculation on your existing service, and build th
Read article →What an Electrician Checks During an EV Charger Site Visit
During an EV charger site visit, a licensed electrician checks whether your home's electrical system can safely support a new 240-volt circuit, then plans the best charger location and wiring route. T
Read article →Charging a Rivian, Ford, or Hyundai at Home: Adapter Basics
You can charge a Rivian, Ford, or Hyundai at home with a Level 2 charger, and in most cases the only adapter question is which plug your vehicle and your charger use. Many current non-Tesla EVs have a
Read article →How to Reset a Tesla Wall Connector Safely
The safest way to reset a Tesla Wall Connector is a simple power cycle: stop any active charging session, unplug from the car, briefly remove power to the unit, then restore it and let it restart. Dep
Read article →